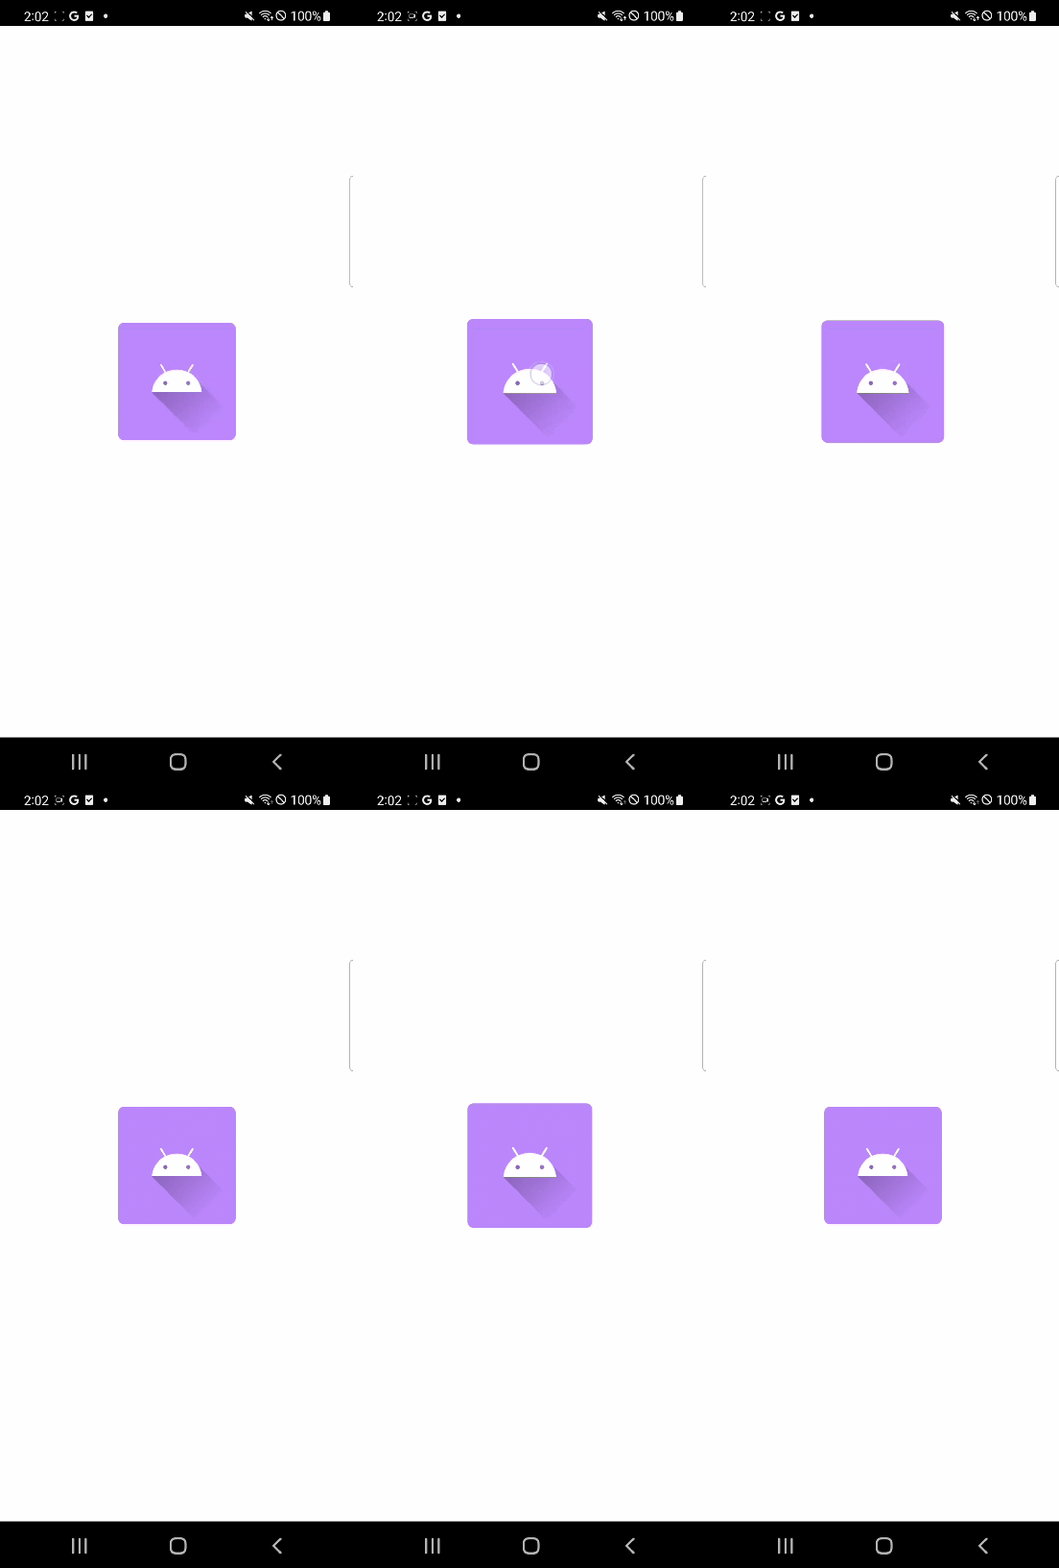
https://github.com/evgenyneu/bounce-button-animation-android
GitHub - evgenyneu/bounce-button-animation-android: A demo Android app that shows how to animate a button with spring/bounce eff
A demo Android app that shows how to animate a button with spring/bounce effect. - GitHub - evgenyneu/bounce-button-animation-android: A demo Android app that shows how to animate a button with spr...
github.com
해당 코드를 참고하여 scale 애니메이션을 통한 버튼 클릭 바운스 애니메이션을 구현했다.
예제에서는 애니메이션 지속시간, 애니메이션 크기 폭, 빈도수를 seekbar로 설정할 수 있다.
나는 버튼을 클릭할 때만 애니메이션이 실행되면 되기 때문에 각 설정값을 고정하였다.
bounce.xml
<?xml version="1.0" encoding="utf-8"?>
<set xmlns:android="http://schemas.android.com/apk/res/android" >

    <scale
        android:duration="500"
        android:fromXScale="0.9"
        android:toXScale="1.0"
        android:fromYScale="0.9"
        android:toYScale="1.0"
        android:pivotX="50%"
        android:pivotY="50%" />
</set>
프로젝트의 res폴더에 anim 폴더를 추가한 후 해당 xml 파일을 넣으면 된다.
MyBounceInterpolator.kt
class MyBounceInterpolator( val mAmplitude: Double = 1.0, val mFrequency: Double = 10.0 ) : Interpolator {

    override fun getInterpolation(time: Float): Float {
        var amplitude = mAmplitude
        if (amplitude == 0.0) {
            amplitude = 0.05
        }

        // The interpolation curve equation:
        //    -e^(-time / amplitude) * cos(frequency * time) + 1
        //
        // View the graph live: https://www.desmos.com/calculator/6gbvrm5i0s
        return (-1 * Math.E.pow(-time / mAmplitude) * cos(mFrequency * time) + 1).toFloat()
    }
}
예제 코드에서 필요한 부분만 사용하였다. 크기 변동 폭이나 빈도수를 계산하여 애니메이션의 Interplator를 생성해준다.
 private fun playAnimation(): Animation {

    val myAnim = AnimationUtils.loadAnimation(this, R.anim.bounce)
    val animationDuration = 500
    myAnim.duration = animationDuration.toLong()

    val interpolator = MyBounceInterpolator(1.1,  23.0)

    myAnim.interpolator = interpolator

    return myAnim
}
위에서 만든 bounce 애니메이션 xml 파일을 통해 Animation 객체를 생성해준다.
이벤트 실행
val animation = playAnimation()

animation.setAnimationListener(object : Animation.AnimationListener {
    override fun onAnimationStart(p0: Animation?) {
    }
    override fun onAnimationEnd(p0: Animation?) {
        // Action
    }
    override fun onAnimationRepeat(p0: Animation?) {
    }
})

mBinding.imgBounce.setOnTouchListener { view, motionEvent ->
    when ( motionEvent.action ) {
        MotionEvent.ACTION_DOWN -> {
            mBinding.imgBounce.startAnimation(animation)
        }

        MotionEvent.ACTION_UP -> {
            // Action
        }
    }
    true
}
setAnimationLister를 통해 애니메이션이 종료된 후 이벤트를 실행할 수 있고 TouchListener에 등록할 수 있다.
전자의 경우 애니메이션 후 화면 intent가 부자연스러운 경향이 있어 TouchListener를 통해 MotionEvent가 Down일 때 실행하고 손을 떼는 UP 상황일 때 다음 동작을 추가해주었다.
'개발 > Android' 카테고리의 다른 글
| [안드로이드/kotlin] 인터넷 연결 상태 확인하기 (0) | 2022.06.08 |
|---|---|
| [안드로이드/kotlin] 카카오톡 채널 연결하기(채널 추가하기, 채널 채팅하기) (0) | 2022.06.07 |
| [안드로이드/오류] API 통신 시 발생하는 SocketTimeoutException (0) | 2022.06.06 |
| [안드로이드/오류] 푸시 FirebaseMessagingService IllegalArgumentException 오류 (0) | 2022.06.06 |
| [안드로이드/kotlin] 특정 날짜까지 남은 시간 타이머 만들기(CountDownTimer) (0) | 2022.05.31 |
